
12 Creative Ways to Transform a Photography Space on a Budget
Creating the perfect photography space doesn't have to drain your wallet. With a little creativity and resourcefulness, you can transform any area into a professional photoshoot haven. Whether you're a budding photographer or a seasoned pro looking to revamp your studio, these budget-friendly ideas will inspire you.
1. Repurposing Everyday Items for Backdrops
Look around your home for unique fabrics, papers, or textures that can serve as interesting backdrops. From bedsheets to shower curtains, there's potential in unexpected places. You can even use creatively printed wrapping paper as a funky background for portraits or products, adding a touch of whimsy to your shots. Old maps or newspapers can offer a vintage vibe that resonates well with certain themes. The key is to experiment with different materials and textures to see what works best. The good news is, you probably have most of these items already. Repurposing not only saves money but also allows your creative side to flourish as you explore new possibilities for your photography.
2. Utilizing Natural Light Sources
Maximize the use of windows and natural light to create stunning effects. Rearranging your setup to capture different angles of natural light can dramatically improve your photos. This not only enhances the natural beauty of your subject but also cuts down on electricity costs from artificial lighting. Experimenting during different times of the day can expose a variety of moods and tones. For instance, the golden hour provides a soft, warm glow that can be perfect for portraits or romantic settings. Moreover, positioning mirrors strategically can help reflect light to areas that might otherwise be in shadow, effectively brightening up your space.
Additionally, consider the placement of your studio to maximize the benefits of natural light. If possible, set up near large windows or use outdoor spaces like patios. By understanding how light behaves in your environment, you can adjust your studio space to harness it effectively, creating a naturally lit atmosphere that brings life and crispness to your photos. This approach not only helps you economize but also adds a fresh, authentic feel to your work, enhancing textures and details naturally.
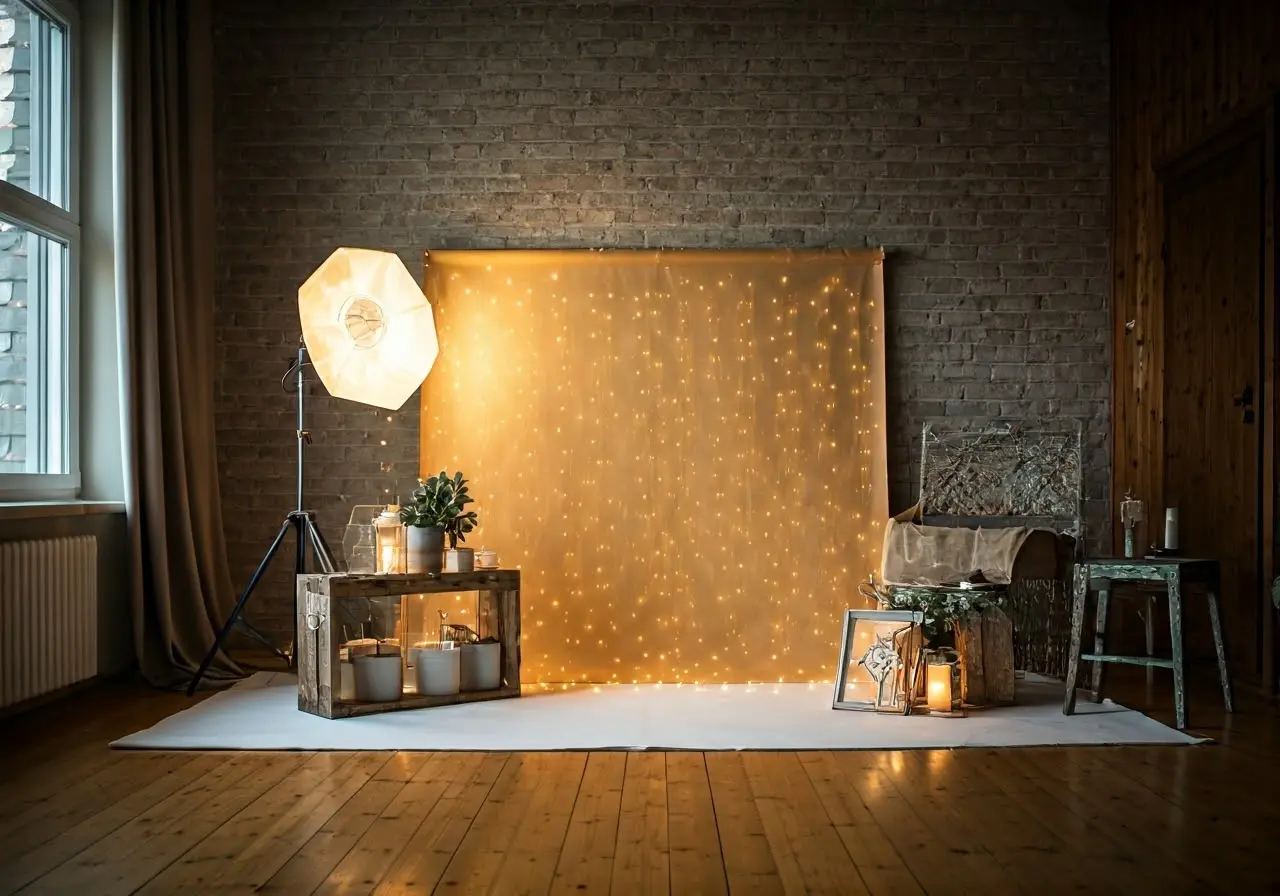
3. Incorporating DIY Lighting Techniques
Create homemade reflectors using aluminum foil or white poster board to manipulate light without professional equipment. This technique adds depth and focus to your images. By bouncing light onto specific areas, you can highlight features and create shadows, adding dimension to your subjects. Another great DIY hack is to use lamps for spotlights—remove the shade for a direct source or drape a translucent material over it for softer lighting. With a little ingenuity, these solutions can mimic professional studio effects at a fraction of the cost, giving your photography an edge while keeping expenses in check.
4. Switching Up Wall Colors with Paint
A fresh coat of paint can transform the mood of a room. Consider painting an accent wall with a neutral tone for a versatile background in your photography. Neutral colors, such as beige, grey, or soft white, can provide a clean slate that complements a wide range of props and subjects. If you're adventurous, try a bold color to add character and vibrancy to the scene. Patterns, such as stripes or geometric shapes, can also be painted for more intricate backdrops, offering a modern twist that's sure to stand out and provide depth to your image compositions.
5. Selecting Versatile Furniture Pieces
Choose furniture items that can double as props and storage solutions. This not only saves space but also keeps your studio organized and ready for impromptu shoots. A vintage trunk, for example, can store props while serving as a unique seating option in your photoshoots. Modular shelves or convertible sofas can also serve as dynamic elements in your setups, providing varied levels and textures to enhance the visual interest of your photos. By choosing versatile pieces, your photography space becomes both functional and aesthetically pleasing, while remaining easy on the wallet.
6. Experimenting with Textured Elements
Introduce textured elements like rugs, curtains, or wooden pallets to add dimension and interest to your shots. These features can easily be swapped out to match different themes. Textured materials captivate the viewer's eye, creating a three-dimensional feel that can be particularly effective in close-up shots. By layering textures, you keep the visual experience dynamic and engaging, drawing attention to the details of the subject while maintaining an artistic environment. This approach is cost-effective, allowing a multitude of settings with minimal investment.
You might also consider using textured wall coverings, such as temporary wallpapers or stucco designs, which can complement the theme of your shoot beautifully. These make for an inexpensive way to provide the necessary variation to your photographs without compromising on quality. Even a simple, well-placed woven basket or textile piece can introduce warmth and character, making your photography space feel inviting and professionally curated despite being on a budget.
7. Enhancing Wall Space with DIY Art
Create or find inexpensive art pieces to adorn your walls. These can be used as compelling backdrops or to inject personal style into your photography space. Consider crafting your own art using recycled materials or simple crafting tools for a personalized touch, or scout local flea markets for affordable but unique finds. Not only do these art pieces serve functional roles in your photography, but they also reflect your personal style, making your space feel more inspiring and custom-tailored to your artistic vision.
8. Maximizing Small Spaces with Clever Organization
Invest in shelves and organizers that keep your equipment and props accessible yet tidy. A well-organized space improves workflow and efficiency during shoots. Consider vertical storage solutions to make the best use of limited floor space. Wall-mounted pegboards, for instance, can hold cameras, lenses, and other equipment securely, freeing up valuable workspace and allowing for easy access and organization. Clear bins can store smaller items like batteries and cables, while labeling can help quickly identify what's needed. These strategies not only enhance functionality but also streamline the creative process by minimizing clutter and distractions.
9. Using Plants for a Splash of Greenery
Incorporate indoor plants for a touch of nature and vibrant color. They provide a fresh atmosphere and can be repositioned for various backdrops and accents. Plants such as succulents or ferns are low-maintenance options that add beauty without the need for constant care. They introduce organic shapes and vivid hues that lend a sense of life and authenticity to your photos. Additionally, these natural elements can evoke different moods, from the lush and tranquil to the exotic and adventurous, offering a simple but effective way to diversify your photography setups.
10. Upcycling Materials for Unique Props
Get creative with materials like pallets or crates to craft one-of-a-kind props. These props inject personality and charm into your photoshoots without costing a fortune. Stack crates to build a rustic backdrop or use pallets as sturdy bases for different settings. You can also paint them to fit specific themes or add cushions and fabric for comfort and style. This approach taps into the sustainable practice of upcycling, not only benefiting your photography but also supporting eco-friendly habits by reusing materials that might otherwise be discarded.
Upcycled items are perfect for photo props because of their unique character and charm. Old books, thrown out glass bottles, or used fabric remnants can be the stars of a creative set, offering intriguing patterns and forms. Designing a shoot around such reclaimed materials can highlight your ingenuity as a photographer and captivate viewers with the interesting stories behind each element in your image.
11. Crafting Your Own Backdrop Frames
Make simple backdrop frames with PVC pipes or wooden dowels. These are easy to assemble and provide a stable structure for hanging various backdrops. By customizing the frames’ size and shape to your needs, you allow for more flexibility in designing the perfect shot. Portable and lightweight, these backdrops can be moved easily, providing a versatile solution for any photography session, whether indoors or at an outdoor location. This low-cost alternative to commercial backdrop stands offers the same level of professionalism, empowering photographers to create stunning, unique setups.
Moreover, you can enhance the functionality of these frames by adding wheels or collapsible features for increased mobility and ease of setup. Fabrics can be draped or clipped onto these frames for quick changes, making it simple to shift between themes without needing a whole new setup. This ability to adapt quickly to different scenes and subjects will enable you to maintain creative momentum and productivity while working within a budget.
12. Employing Glass Surfaces for Reflective Shots
Using glass tables or panels can create striking reflective effects in your photography. These surfaces can magnify the subject's detail and add an artistic touch. By strategically placing lights or positioning subjects at certain angles, you can exploit reflections to tell new stories or reveal unseen details. Reflections can add layers and symmetry, transforming ordinary images into compelling narratives. This simple addition of glass elements into your space offers a dynamic method for enhancing images through reflection, leading to a wide range of aesthetic possibilities.
To maximize the effect, clean and polish your glass surfaces to ensure pristine reflections. Combine different elements, such as water or colored lighting, for added effects that can elevate the mood of the scene. Glass items can also function as barriers, breaking up scenes and acting as creative dividers within your compositions. This flexible and cost-effective technique opens a world of creative potential, making your photography look more sophisticated without the need to invest in expensive equipment.